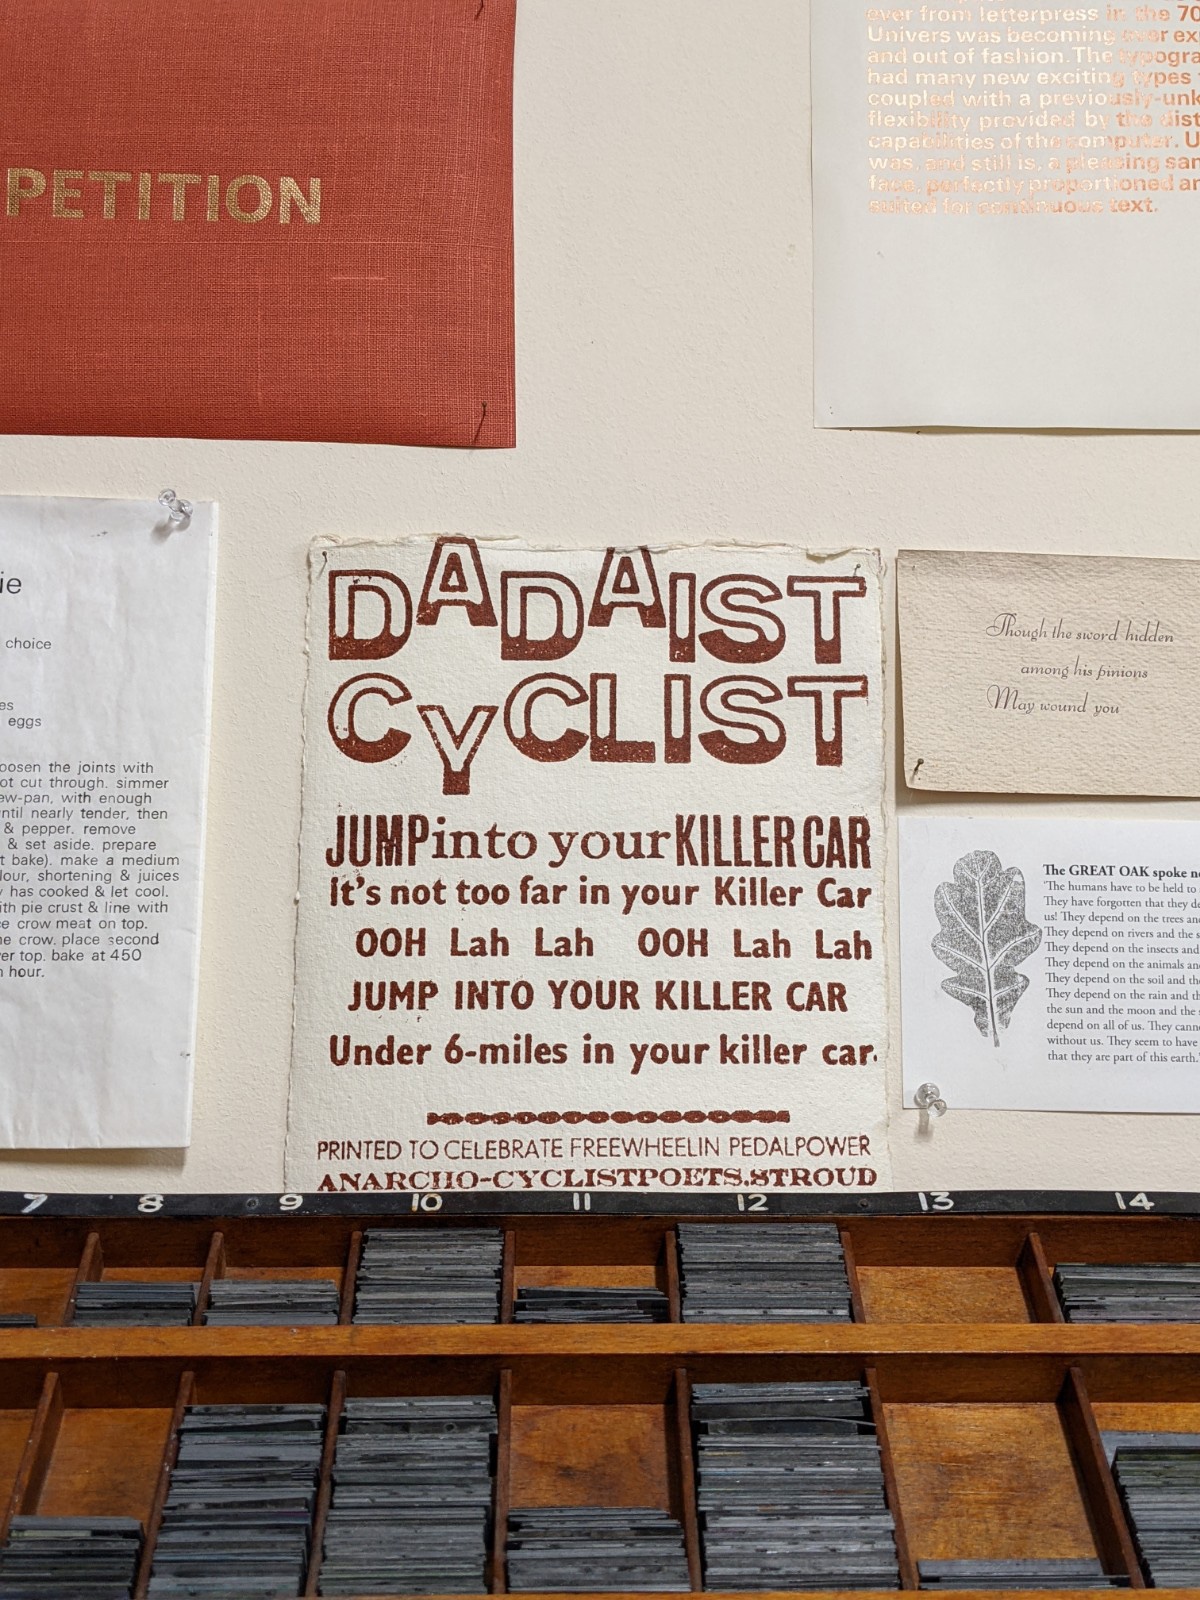
A new generation of graphic designers are working with letterpress to produce innovative contemporary design by employing the traditional technique to create visually tactile and bold prints that can be used across most areas of graphic design and art.
This semester we will undertake several letterpress workshops to not only teach us the practice but also to give us a gateway to the possibilities of letterpress so we can use it leading up to our final concrete poetry submission. The aim is to work with woodblock type to to explore the creative and conceptual potential of type and text.

I’ve never done letterpress before but I have a keen interest in typography and the history of type so I was very excited to learn the technique.
On arrival our print tech, Ruth, showed us through all the various woodblock typefaces on offer – ranging from classics such as Helvetica all the way to more intricate cursive typefaces like Coronet. We were then talked through the different pieces of equipment, like the furniture we used for spacing our letters, the type of ink we used, the technique of how to load up the ink and very importantly how to use the roller machine. Then once we had all the necessary information we set off to working from our handout sheets and we’re asked to create a minimum of 3 prints exploring what we’d just learnt, to get us comfortable with the practice of letterpressing and to explore its possibilities.

First you have to set up your tray. To do this you gather all your woodblock letters, arrange them as you want, then you have to fill all of the space with metal pieces called furniture, once it feels secure enough and no pieces of woodblock wiggle then you extra secure it by using very strong magnets which attach to the tray. Once you’re satisfied by the layout you can get to printing. For this you need to make sure you have your area set up ready to go. Your ink should be out, make sure you’ve already rolled it out on your roller evenly – Ruth told us it shouldn’t be too thick or gloopy, just a nice even coating. And your paper should be ready to hand. Then you put your tray on the press machine, line it up to where you want it, roll on your ink with your roller in nice even strokes – making sure to go in the opposite direction as well so you don’t get a streaky print, then clamp your paper into the top of the letterpress machine, lay it down gently and get to rolling. After a couple of

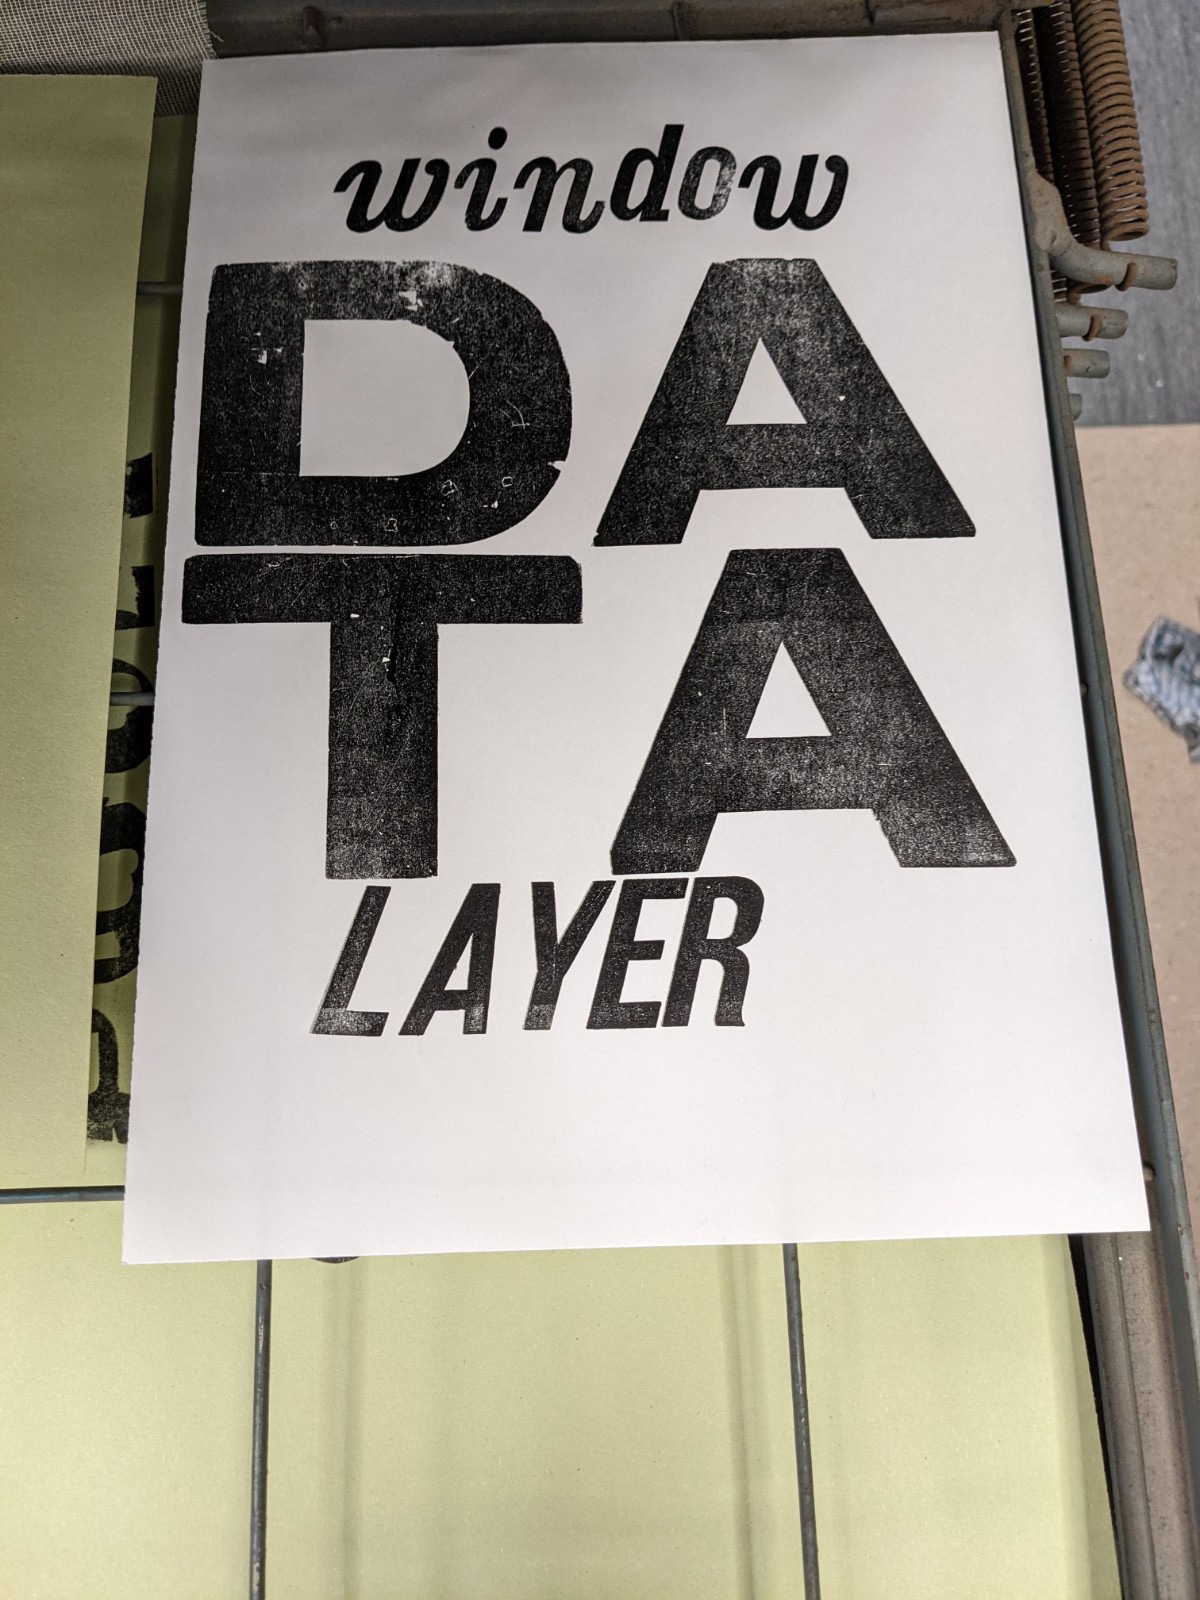

I really enjoyed doing it. It was a lot trickier than how I imagined it to be, maybe because Ruth was demo’ing it and she has years of experience on her and made it look rather easy, but all in all it was fun to get hands on and messy and I love the classic typographic aesthetic it produces. It’s definitely something I can see myself using more as the course goes on, should the opportunity arise.